

Watch a 2-minute overview
A quick 2-minute tour of the Sales Assistant.
Who this is for
Set up a Sales Assistant if:- Visitors come to your website but leave without getting in touch.
- You can’t always reply to new enquiries quickly enough.
- You want a simple way to capture leads while you focus on running your business.
Setting it up, step by step
When you open the Sales Assistant, EasyMate walks you through a few short steps. Each one is pre-filled with sensible suggestions where possible, so you’re reviewing and tweaking rather than starting from a blank page. You can change any of it later.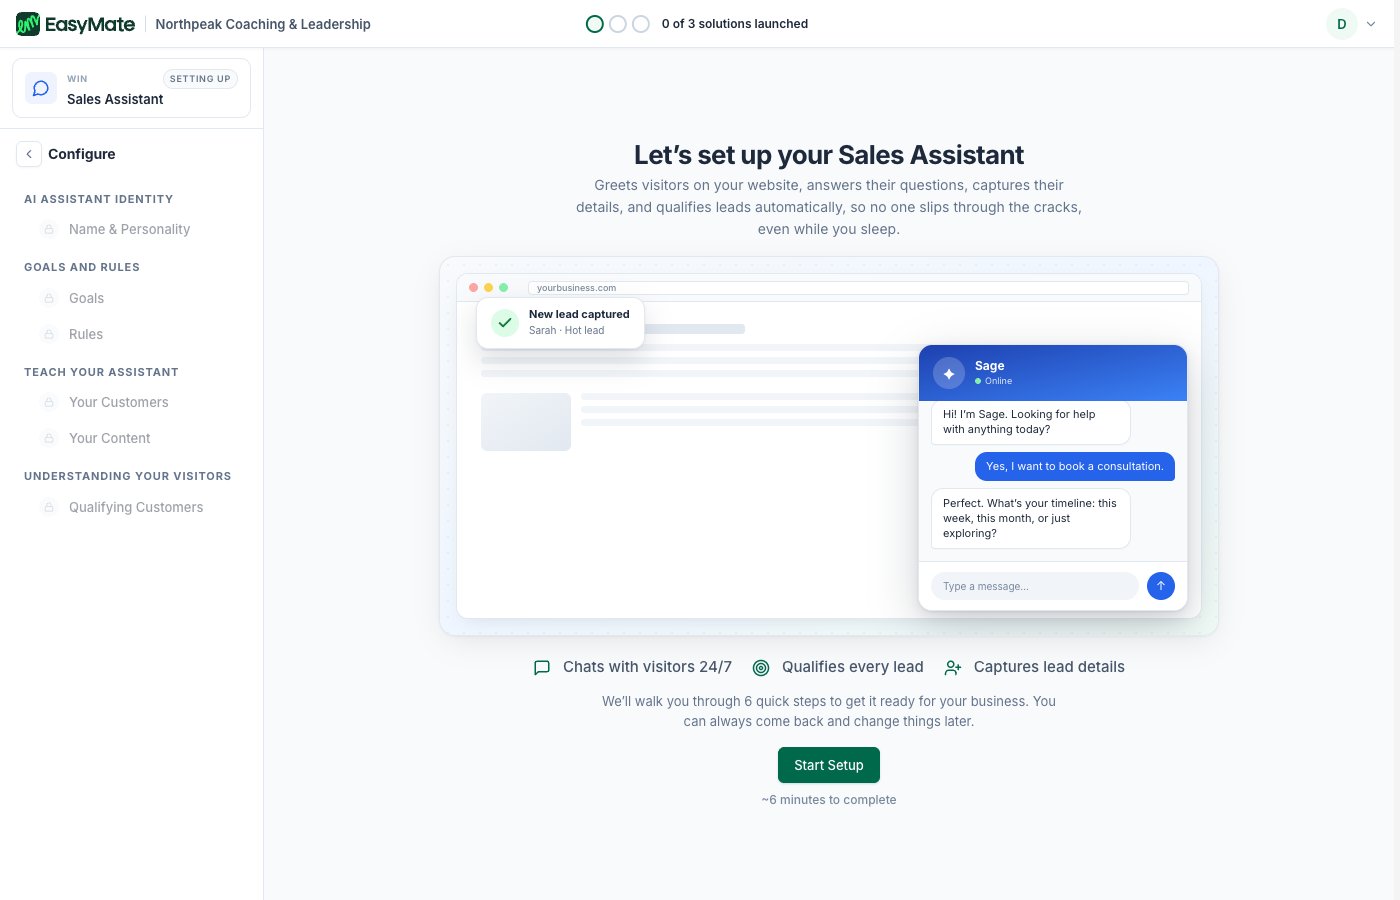
Each solution opens with a quick intro and a preview. Click Start Setup to begin.
1. Name and personality
Give your assistant a name (for example, “Luna”) and choose a personality that matches your brand voice, such as Supportive, Warm & friendly, Professional & polite, Confident & persuasive, Casual & fun, and a few more. This is the voice your visitors will chat with.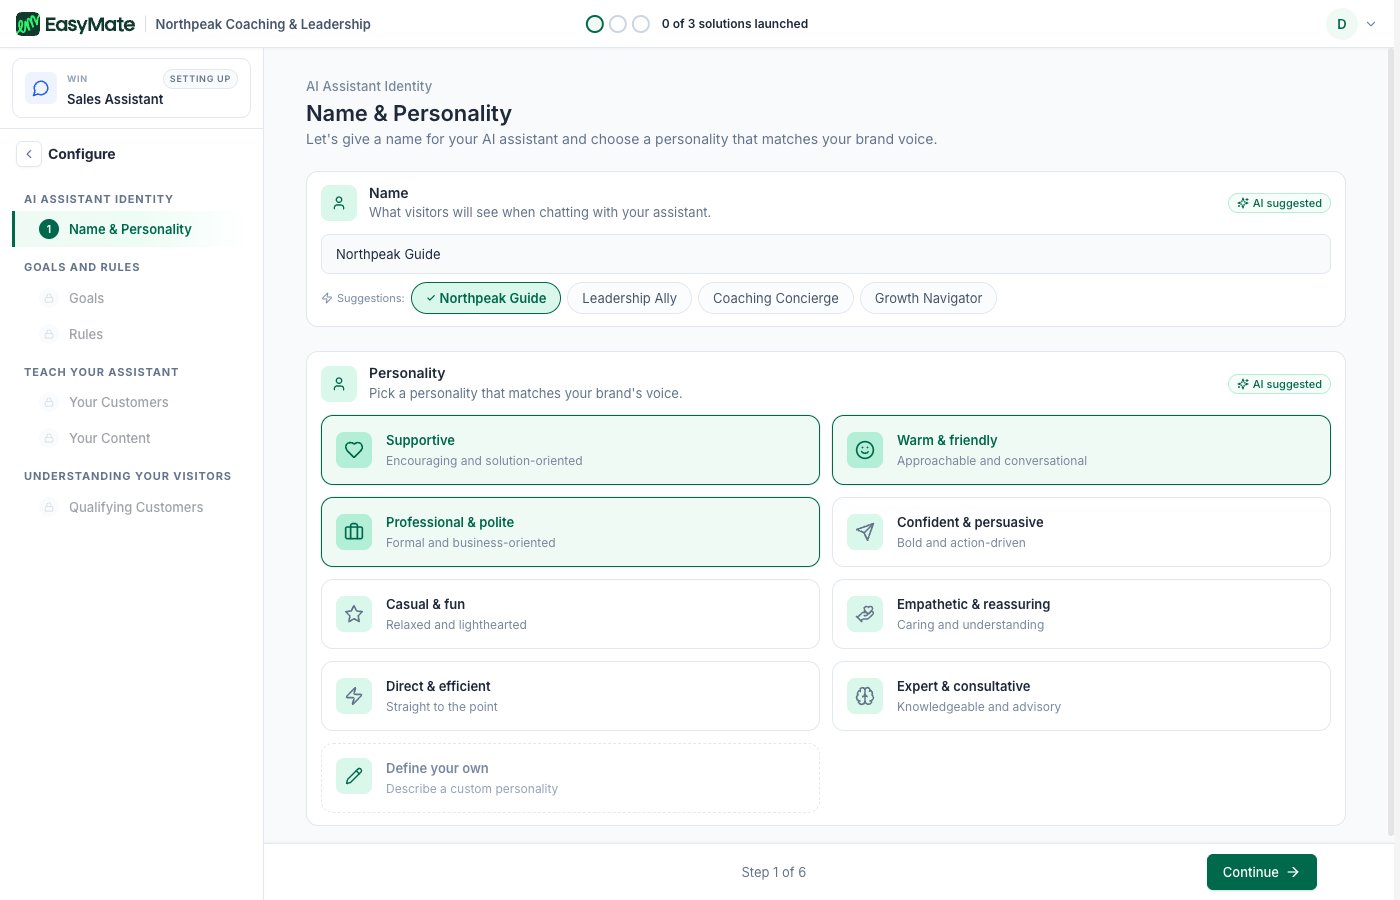
Name your assistant and pick a personality. EasyMate suggests a name based on your business.
2. Goals
Choose what you want the assistant to do. Collect visitor details is turned on for you, and you pick which details to ask for: name and email (always required), plus optional ones like phone, company, job title, or budget. You can also turn on Send to a booking page and add the link, so the assistant can point interested visitors straight to your calendar.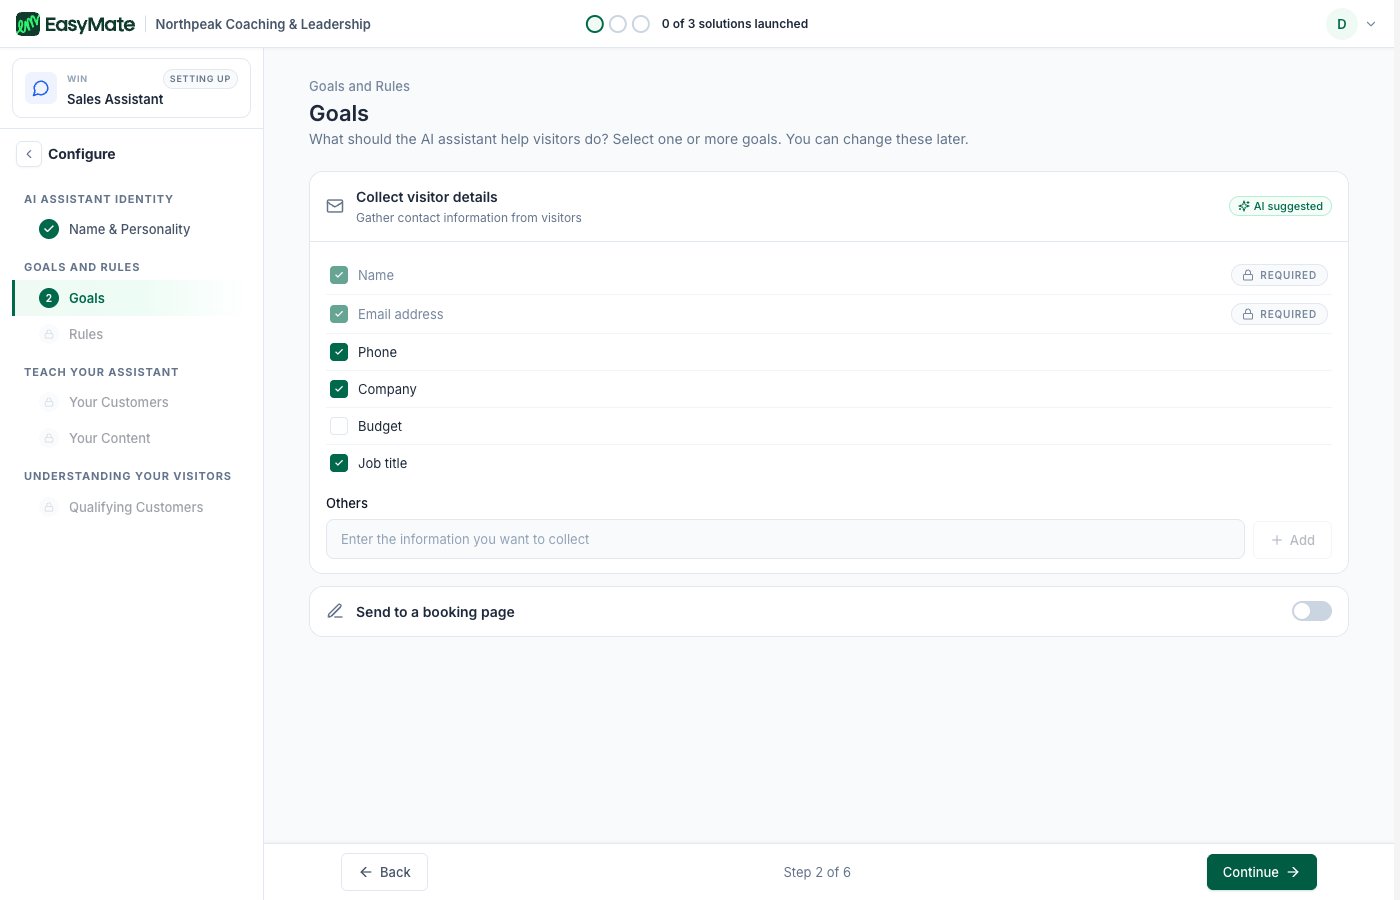
The Goals step. Collecting visitor details is on by default; pick the information you want to gather.
3. Rules
Set the boundaries. A few safety rules are always on and can’t be removed, like always telling people they’re chatting with an AI. You can add your own rules, list topics the assistant should avoid, and decide what it should do when it doesn’t know an answer (for example, offer to pass the question to you).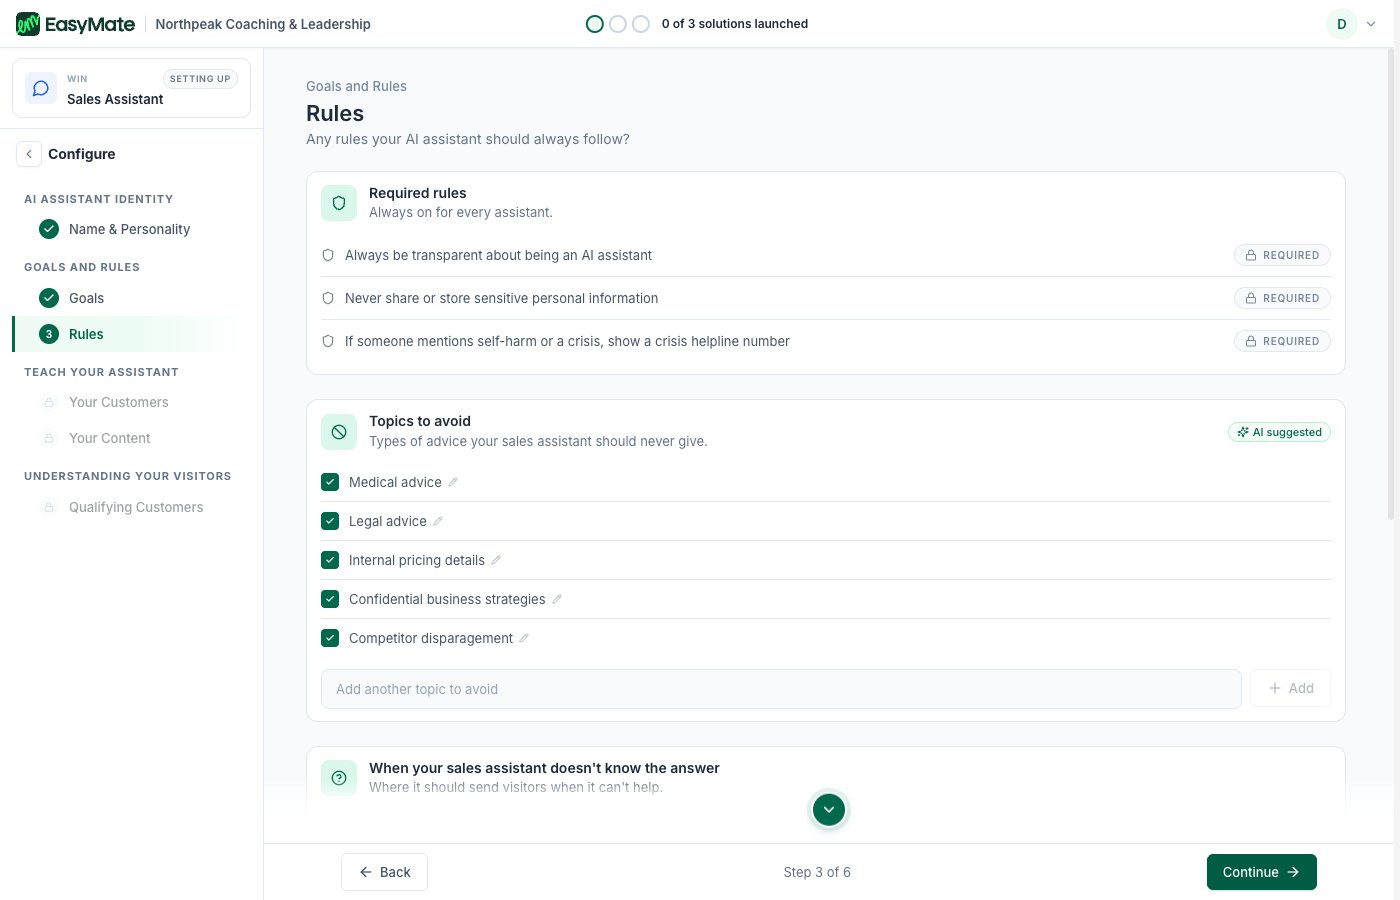
Required safety rules are always on. Add your own rules and topics to avoid.
4. Your customers
Tell the assistant who you serve, how you help them, and what makes you different. EasyMate suggests answers based on your business, and you simply adjust them. This helps the assistant talk about your business accurately.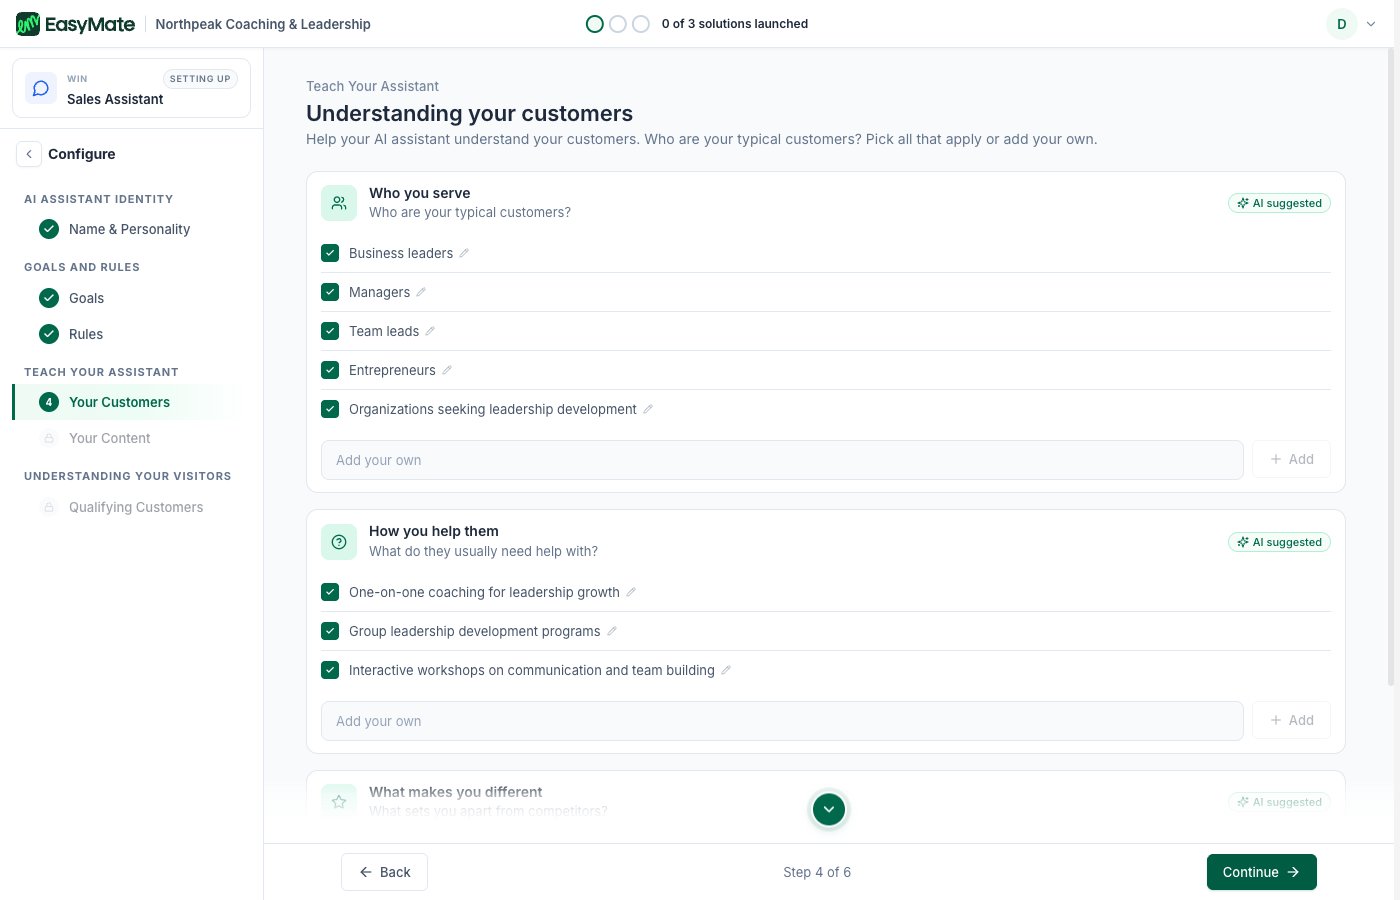
Confirm who your customers are and how you help them. EasyMate suggests answers you can edit.
5. Your content
This is the knowledge your assistant answers from. Add pages from your website, upload documents like brochures or FAQs, and pull in information already shared from other parts of your workspace. The better the content here, the better the answers. You can add more or update it anytime later, see Knowledge Sources.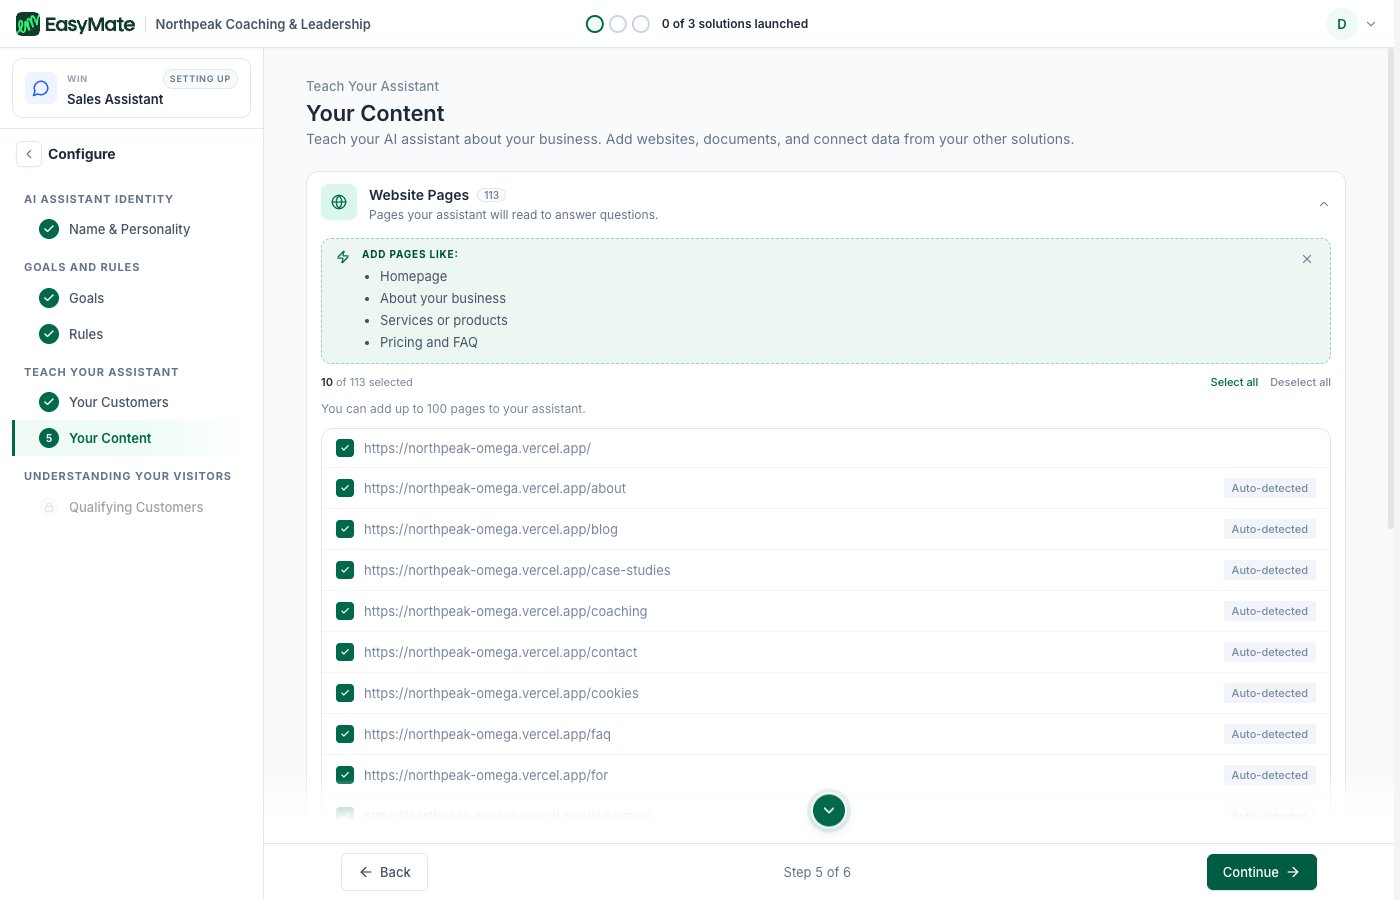
Add the website pages and documents your assistant should answer from.
6. Qualifying your leads
Tell the assistant what to pay attention to, such as a visitor’s budget or timeline, and what a good potential customer looks like for you. This helps the assistant focus the conversation and helps you see which leads are most worth your time.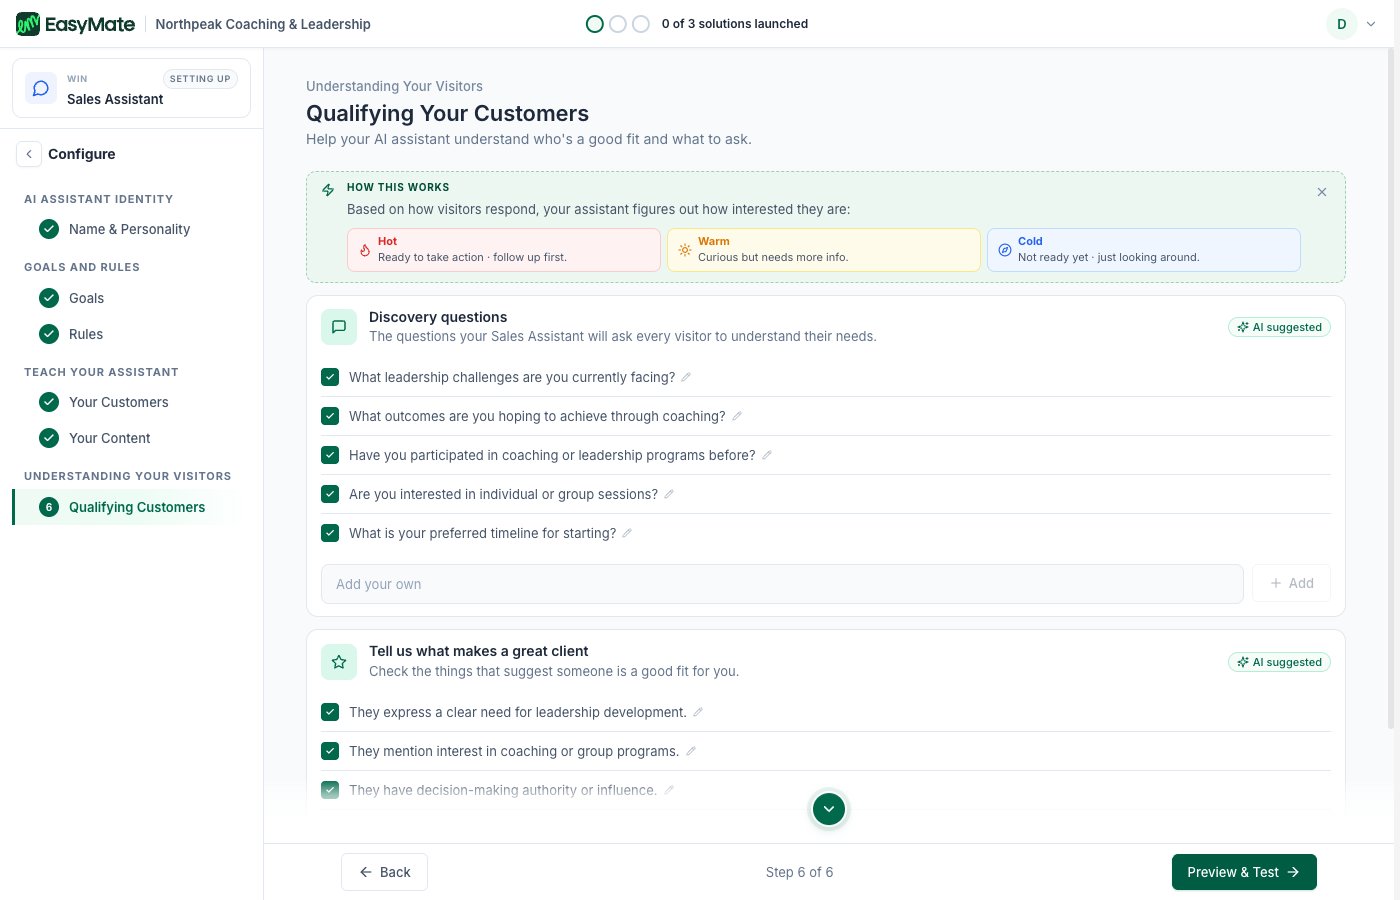
Choose what to ask about and what makes a good fit, so you can spot your most promising leads.
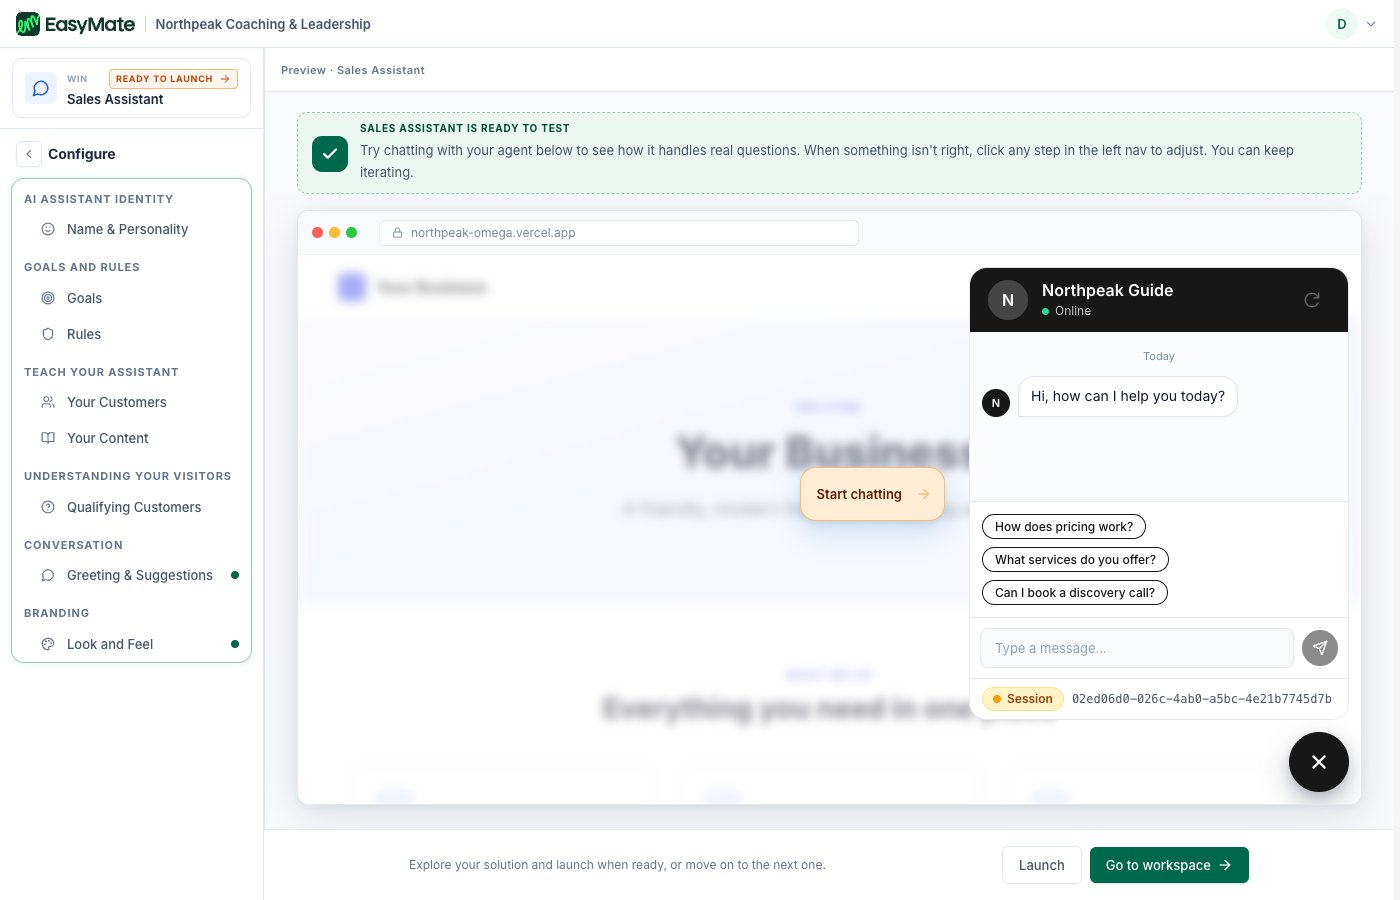
Try your assistant in the preview before launching. You can jump back to any step to adjust it.
A few finishing touches
After the main setup, two optional steps appear from your assistant’s page:- Greeting and suggestions: write the opening message and a few starter questions visitors can tap.
- Look and feel: choose the avatar, color, and where the chat bubble sits on your page.
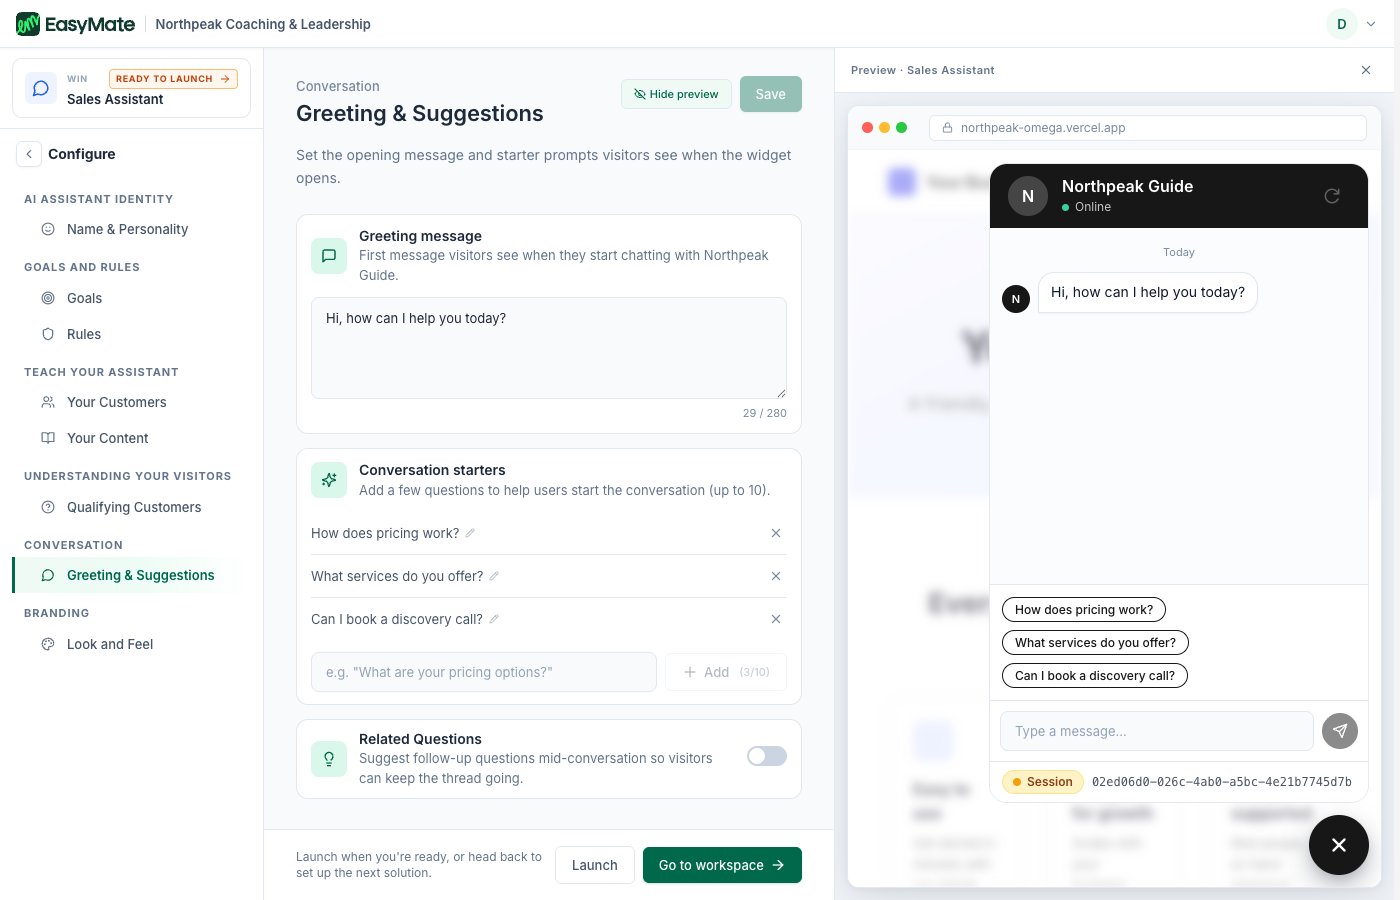
Write the opening message and a few starter questions, and see them in the live preview.
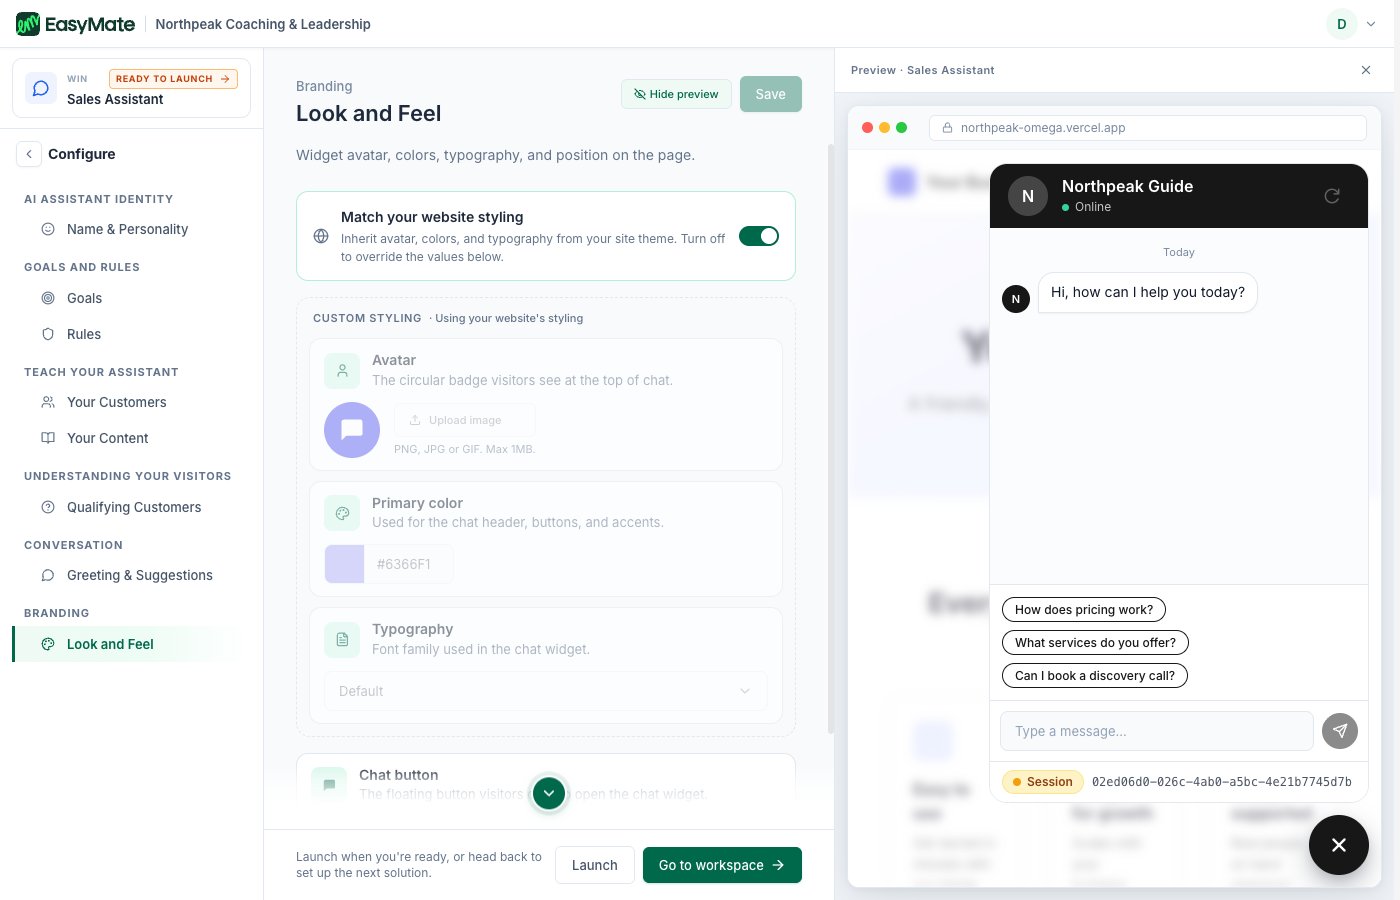
Match the widget to your website, and set the avatar, color, and typography.
Launching your Sales Assistant
When you’re happy with the preview, take it live from the Launch screen.- Open the Sales Assistant and go to Launch.
- Click Launch Sales Assistant, then confirm.
- Under Embed on your website, copy the install snippet.
What you’ll see once it’s live
Your assistant starts chatting with visitors right away. From its page you can review every conversation it has had, and see simple reports on things like how many people it chatted with and how many leads it captured. Any contact details it collects flow straight into your Leads Portal.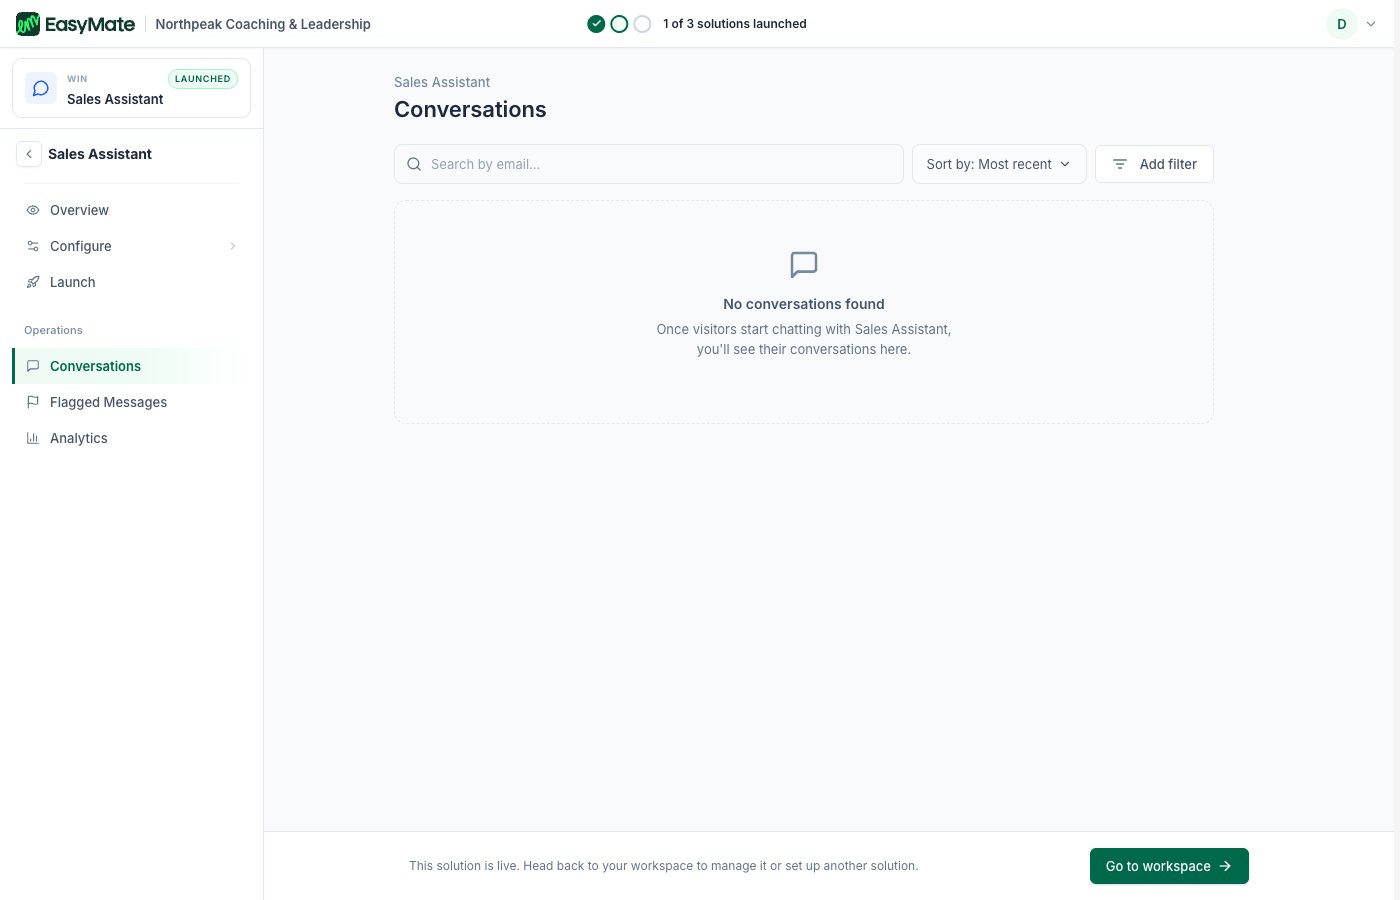
The Conversations view. Every chat your Sales Assistant has with a visitor is logged here.